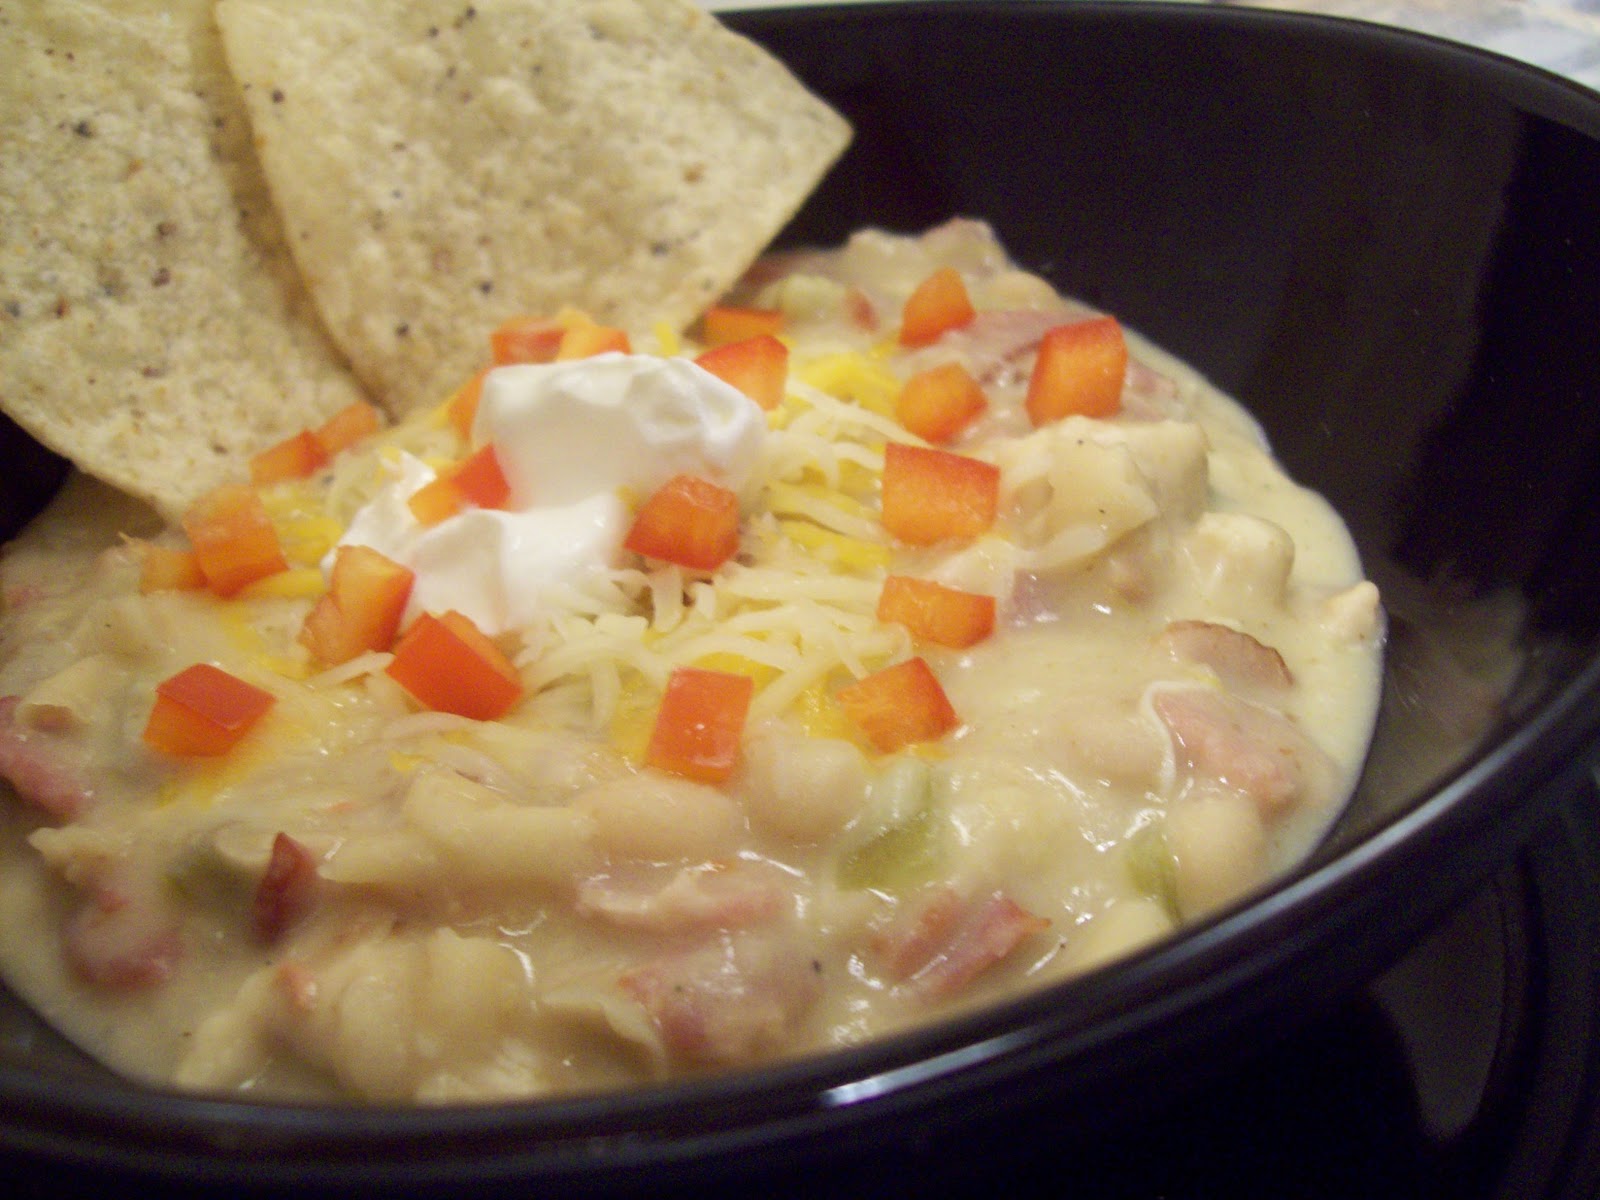
Chicken Bacon White Chili
12 oz pack center cut bacon chopped into small pieces
1 onion, chopped
3 cloves garlic, crushed
1 (4 ounce) can diced jalapeno peppers
1 (4 ounce) can chopped green chile peppers
2 teaspoons ground cumin
1 teaspoon dried oregano
1 teaspoon ground cayenne pepper
2 (14.5 ounce) cans chicken broth
3 cups chopped cooked chicken breast
3 (15 ounce) cans white beans (I mash up one can to make the chili thicker)
1 cup shredded Monterey Jack cheese
Saute bacon large saucepan until crispy but not burnt. Remove bacon from the pan and drain reserving 1 table spoon of bacon drippings. Slowly cook and stir the onion until tender in the drippings. Mix in the garlic, jalapeno, green chile peppers, cumin, oregano and cayenne. Continue to cook and stir the mixture until tender, about 3 minutes. Mix in the chicken broth, chicken and white beans. Simmer 15 minutes, stirring occasionally.
Remove the mixture from heat. Slowly stir in the cheese until melted. Serve warm. Enjoy!
******************************
And now on to some questions! One of my new awesome followers, Michael, from Me, My Food and I tagged me to answer some questions. So here they are. :)1. When did you learn to cook?- I have always been a bit of an experimenter when it comes to food. I remember being young (like seven) and making grilled cheese in the toaster oven and seeing which spices tasted the best added to it. I suppose that I officially learned to cook when I learned how to work the gas stove when I was around 14.
2. Name three things that are always in your fridge.-I always have condiments (I am counting that as one), Water (I am a camel) and milk (I add it to so many things I always need it)
3. Do you have any food guilty pleasures?- HAHAHA where do I start. I actually did a few posts of guilty pleasures. I will go ahead and list one of my guiltiest which would be dipping my french fries into my Frosty at Wendys.
4. Tell us about your most memorable meal...My most memorable meal....I have two. My most memorable homemade meal would have to be when my Nina (godmother) made me a huge taco dinner complete with beans, rice, homemade salsa when she was babysitting me one time. I don't get to see her as often as I would like but for some reason that sticks out in my mind. My most memorable restaurant meal was in Tucson the week of my wedding. My husband and I ate at this restaurant called Jonathan's Cork. It was heaven. It was so nice to get away from the wedding stress and sit down to a nice meal. I ordered swordfish, something I had never had before and was so excited that I loved it! ah memories......
5. What is your drink of choice?-Non alcoholic drink would have to be water. It is really all I drink besides some Diet Coke while at work. I am known as the camel. Most people watch in amazement as I polish off six to ten bottles in a day. I am just thirsty.....My alcoholic drink of choice would have to be a margarita. Made with good tequila and a splash of orange juice. Yum!!
I will tag some people and think up some questions for the next post! Thanks Michael.